One of the things I like to do is spend time working on our planes. Every time I walked by the wing tips of our Eclipse I didn’t like the dull look of the fuel filler neck. The dull grey just didn’t match the sleek look of the plane. The Eclipse service centers offer a service to polish the necks, and other components, however I like a challenge and always think it will take less time than it does! I was going to polish the engine inlets in any case, so just added this project to my list on a whim.
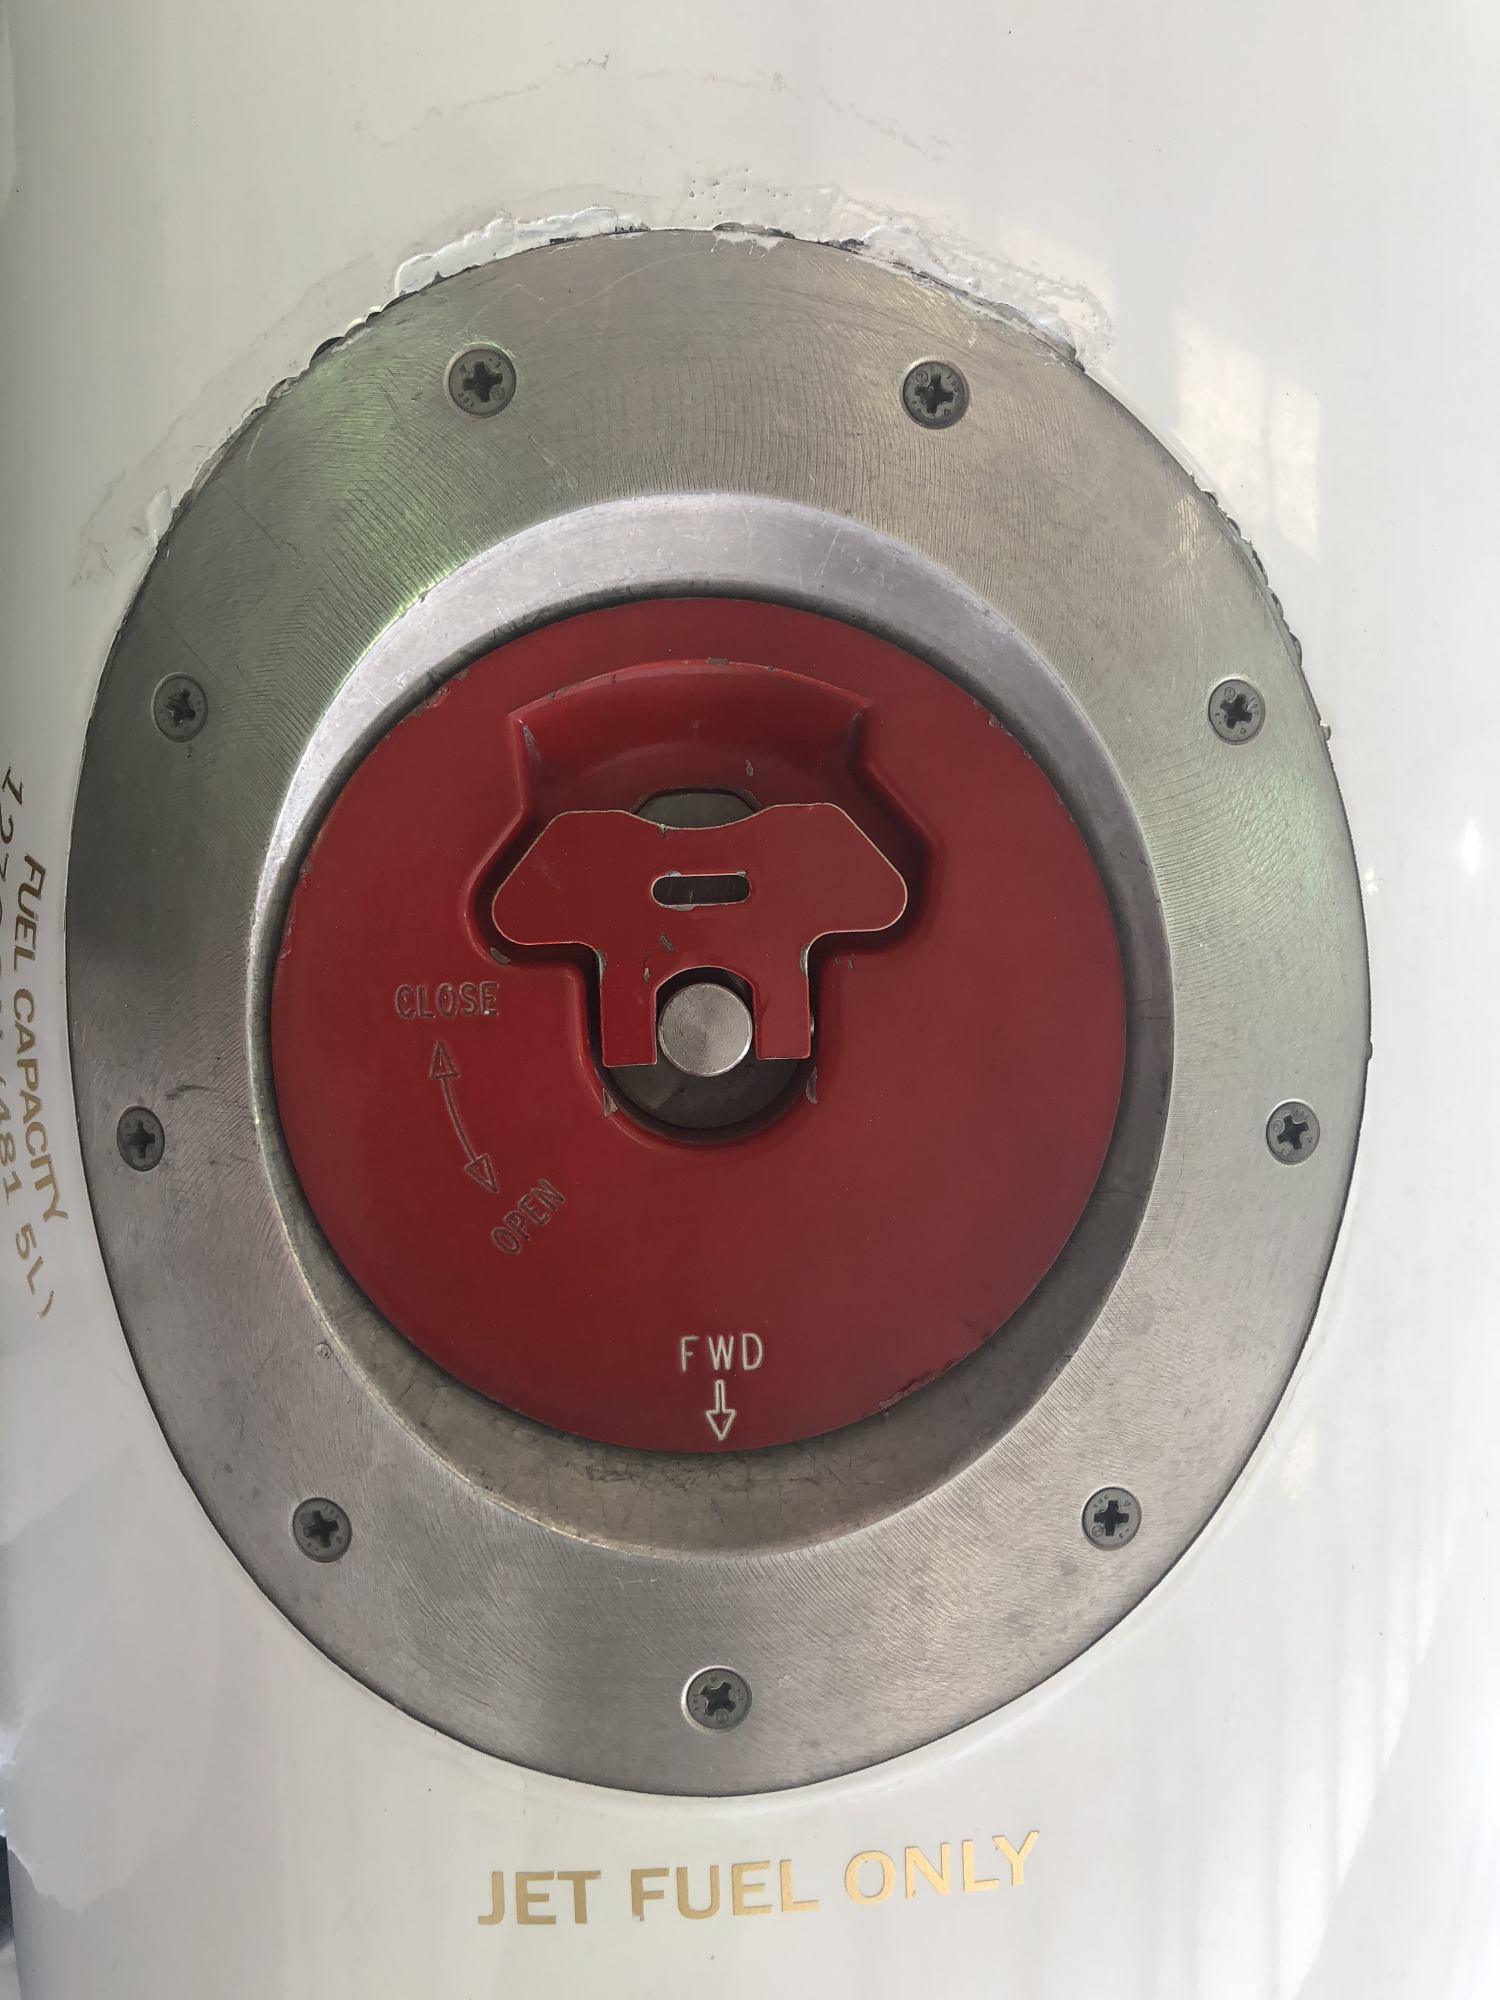
Fuel filler before polishing
I started by assessing how to polish the neck without damaging the surrounding surface or worse, dropping something into the fuel tank. I initially tried to polish it by hand however the surface was in such rough shape that it would take too much time. It was time to pull out the drill!
I’ve used a variety of metal polishes in the past, so I had a few to choose from in my inventory. Due to the condition of the neck I knew I would need a coarse polish to for the initial step. I chose Rolite polishes which offer a wide spectrum of grits, from very coarse to ultra fine.
The Process
To minimize and damage to the surrounding area and protecting the tank itself, I started with masking off the filler neck. This step is critical. If the polish residue or anything else contaminated the fuel, it could cause problems. I then masked the tank surrounding the filler neck. In hindsight it would have also been useful to drape the tank with plastic or cloth to minimize the hassles of cleaning the residue off the tank itself.
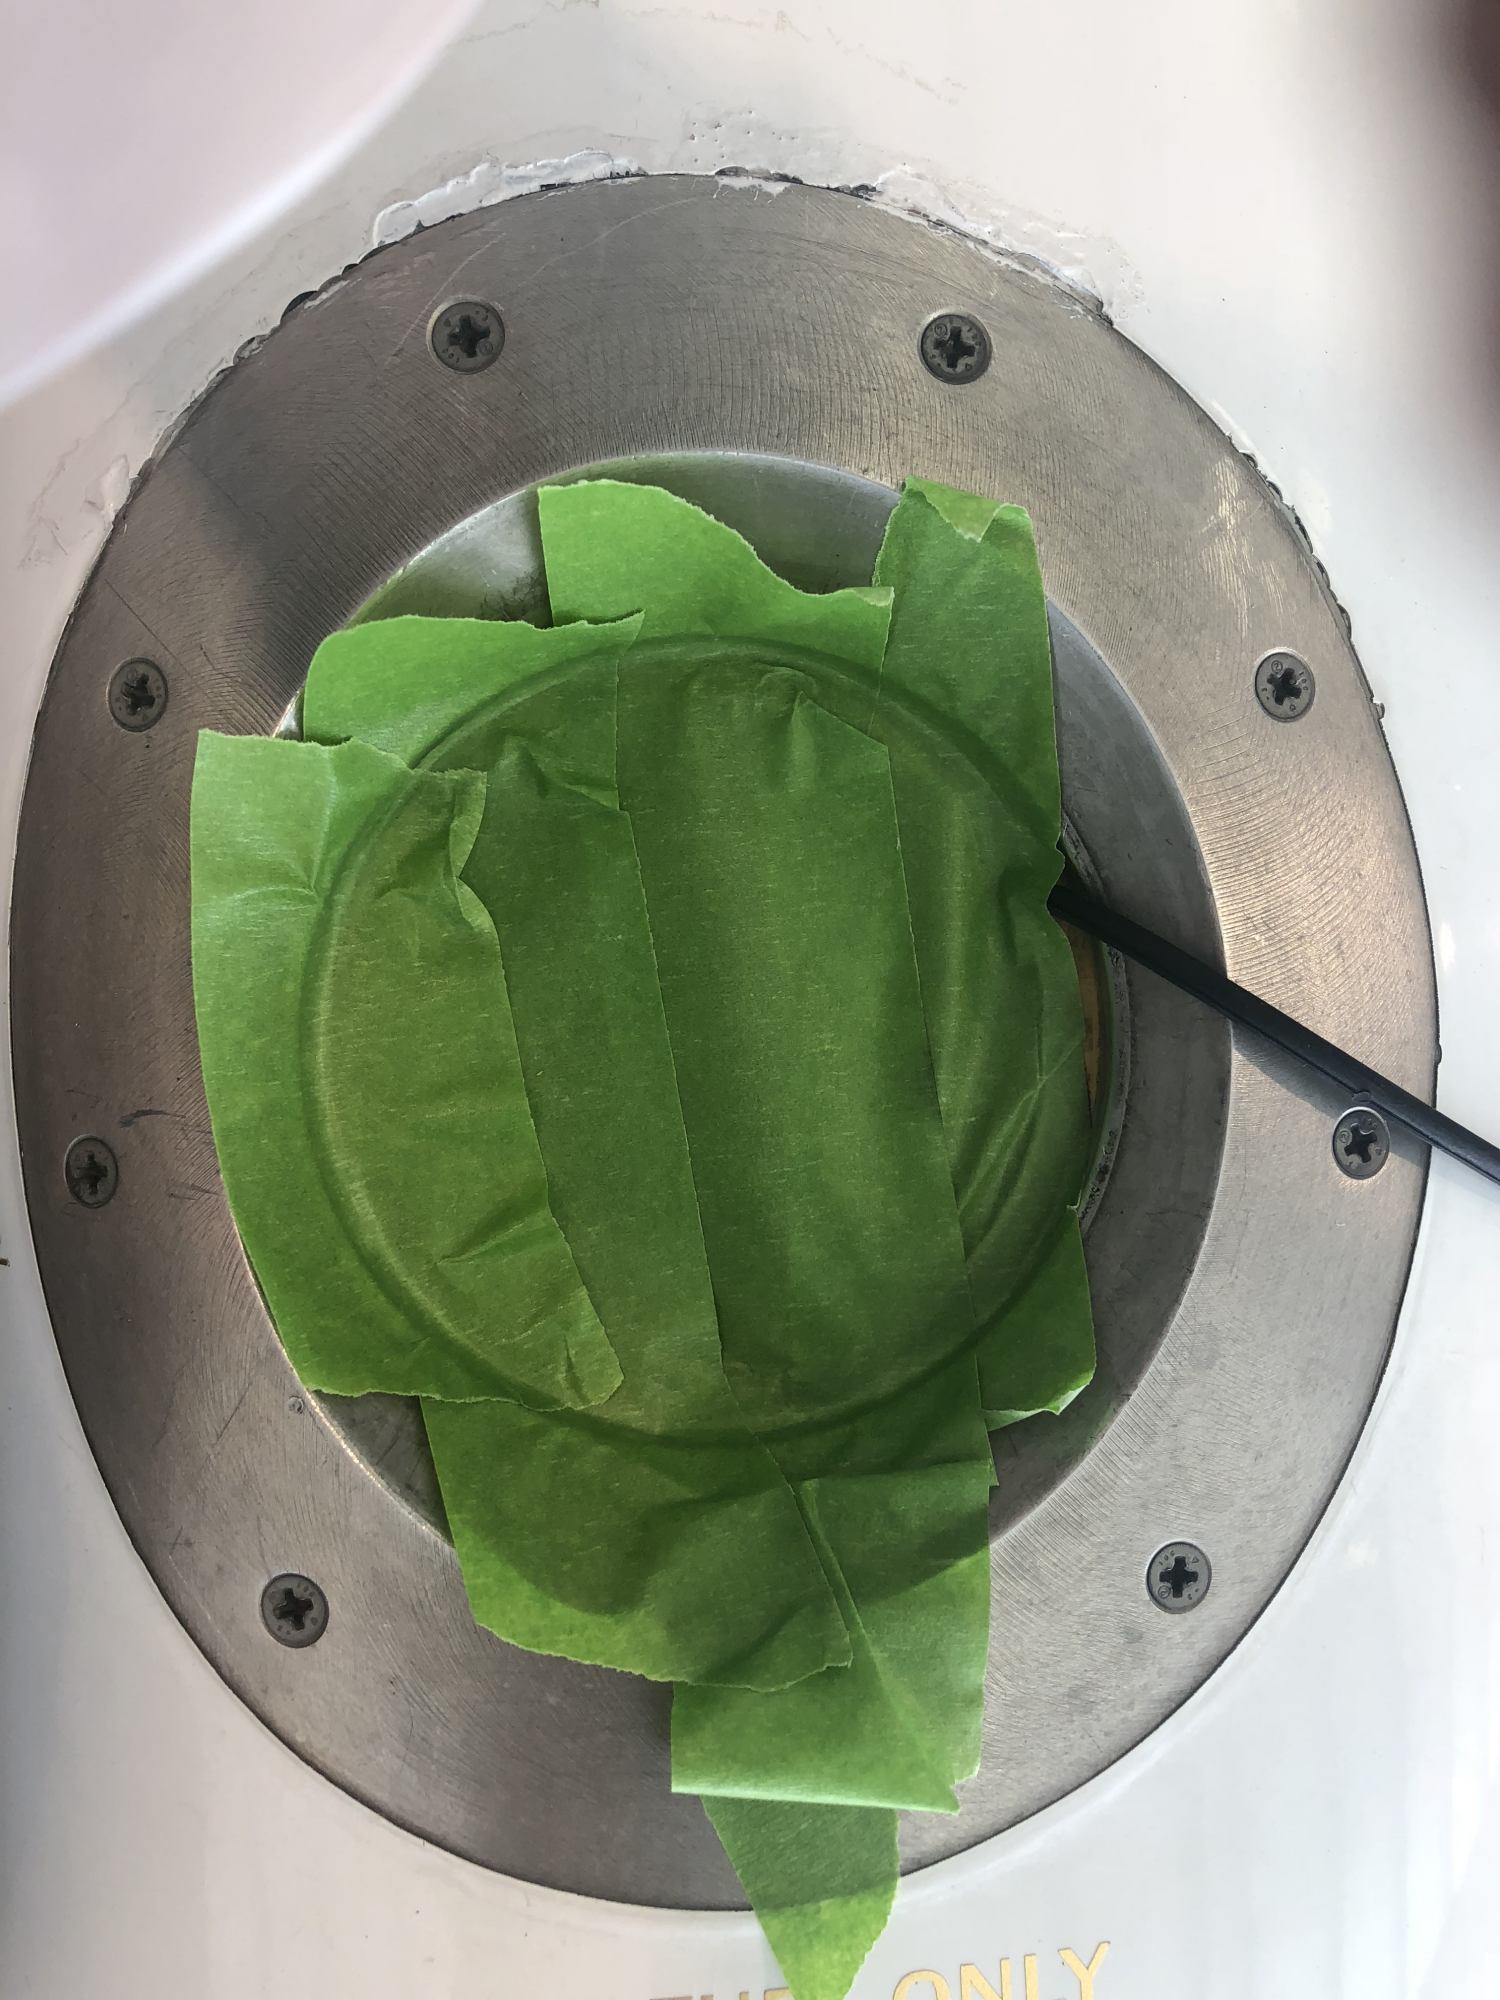
Initial masking of the filler neck itself. Use a sharp razor blade to cut around the circumference of the neck.

Filler neck masked and starting masking the filler mount
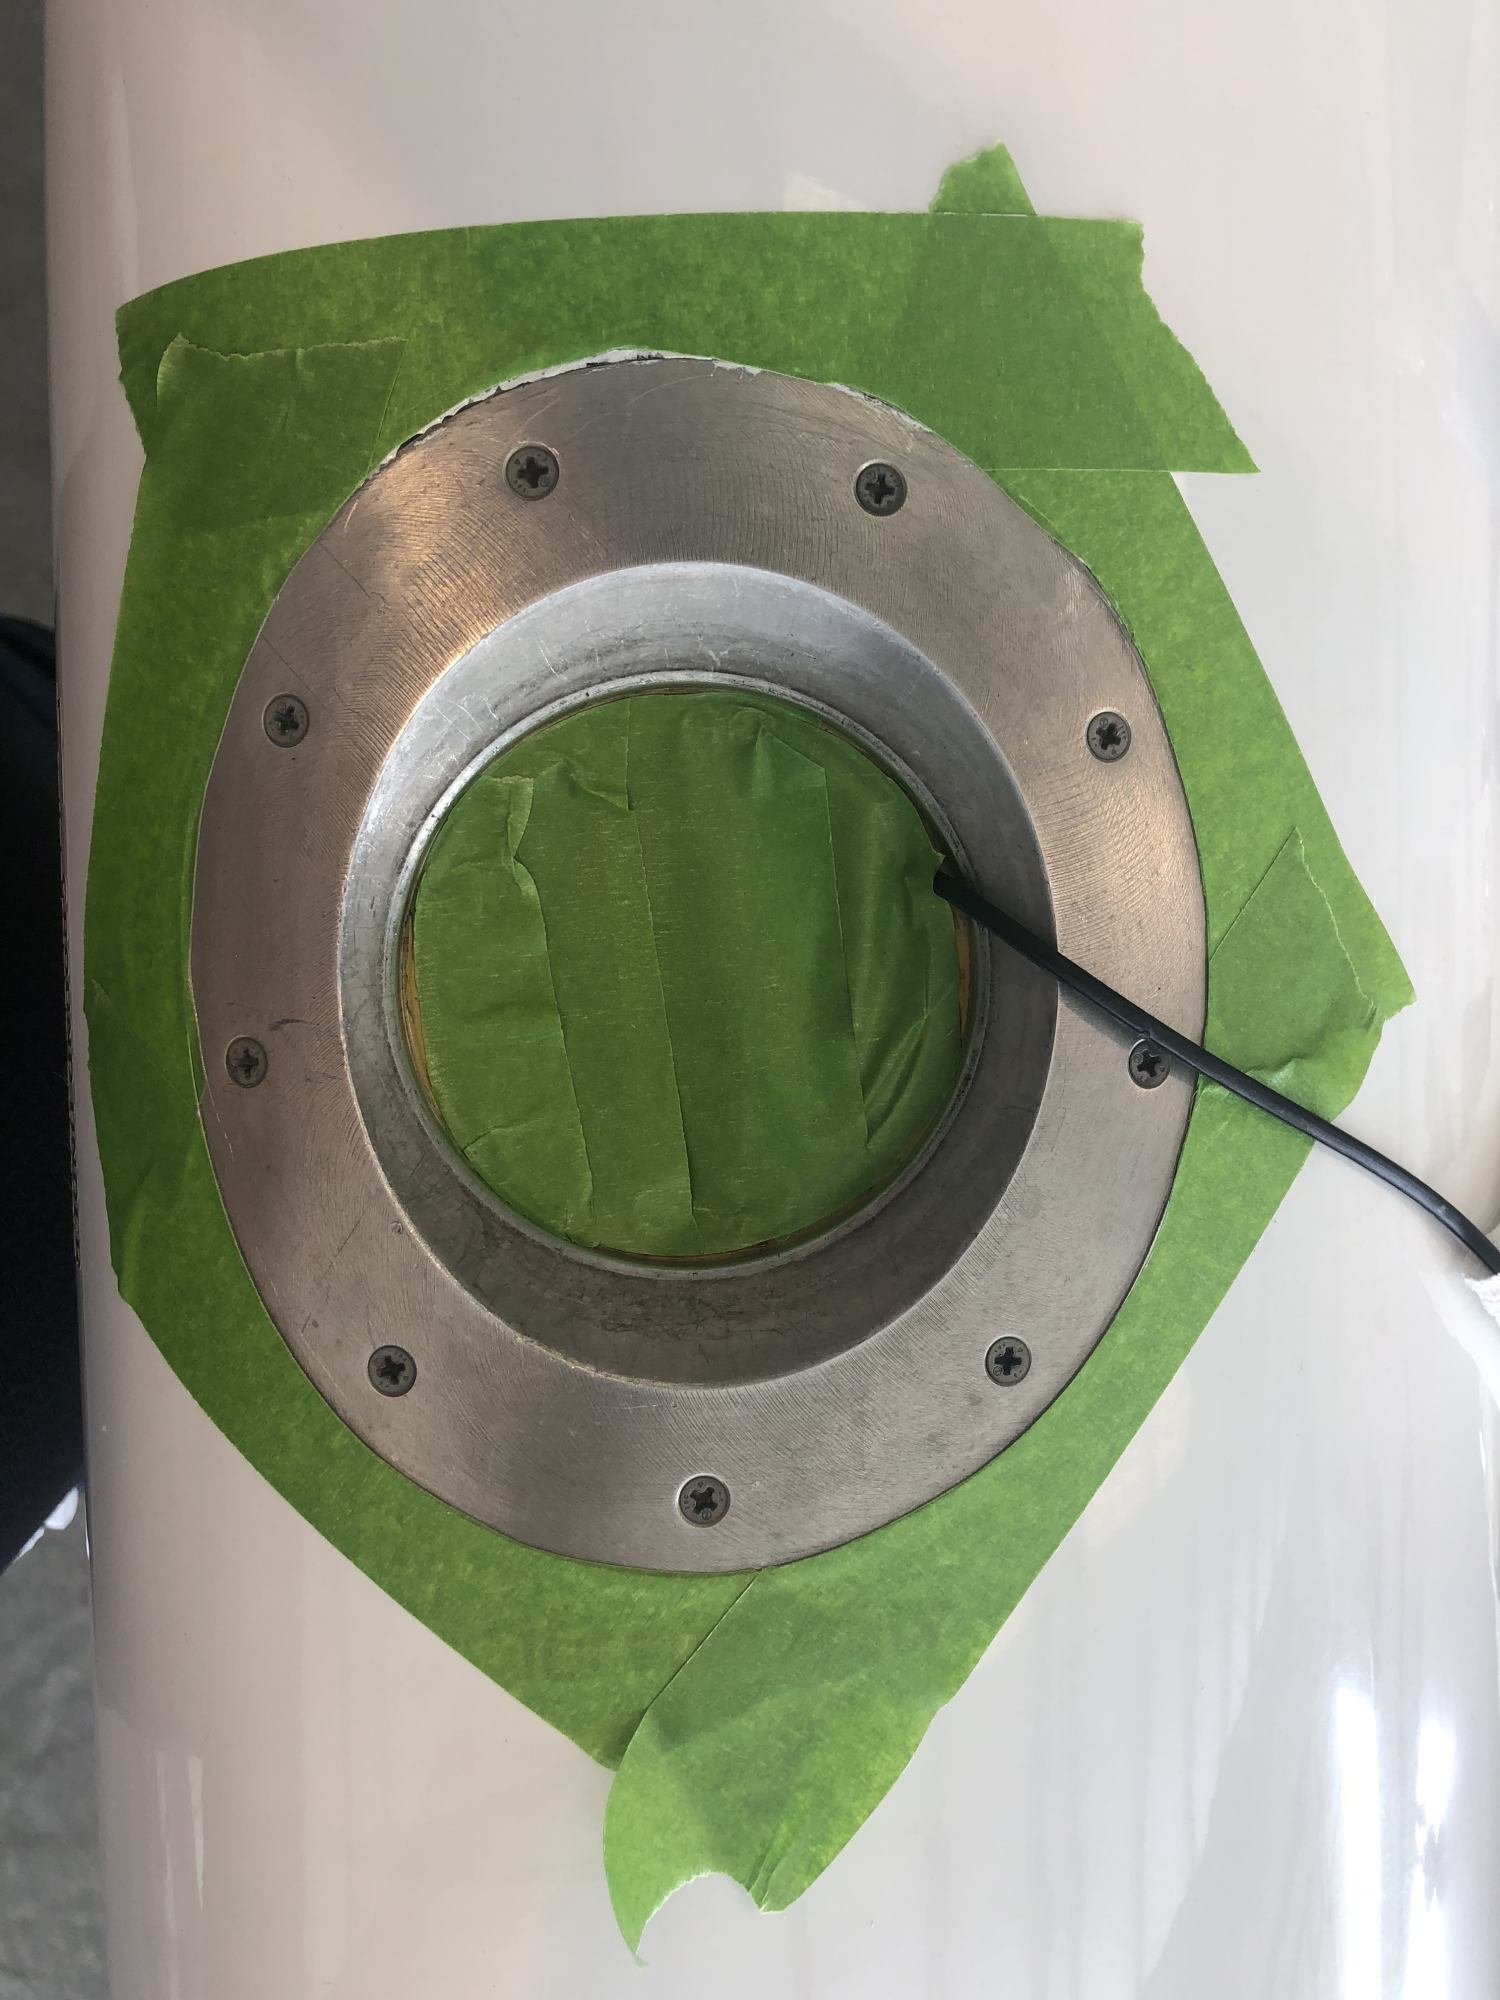
Masked and Ready for Polishing
Tools of the Trade
I use a cordless drill fitted with a 3M 3 inch buffing attachment onto which I attach foam polishing pads. A great alternative is this inexpensive kit from Amazon (full link below) that includes the adaptor and various pads. To make your projects easier, I suggest having multiple pads on hand so you don’t have to clean them as the residue builds in them. Of course, I didn’t do that!
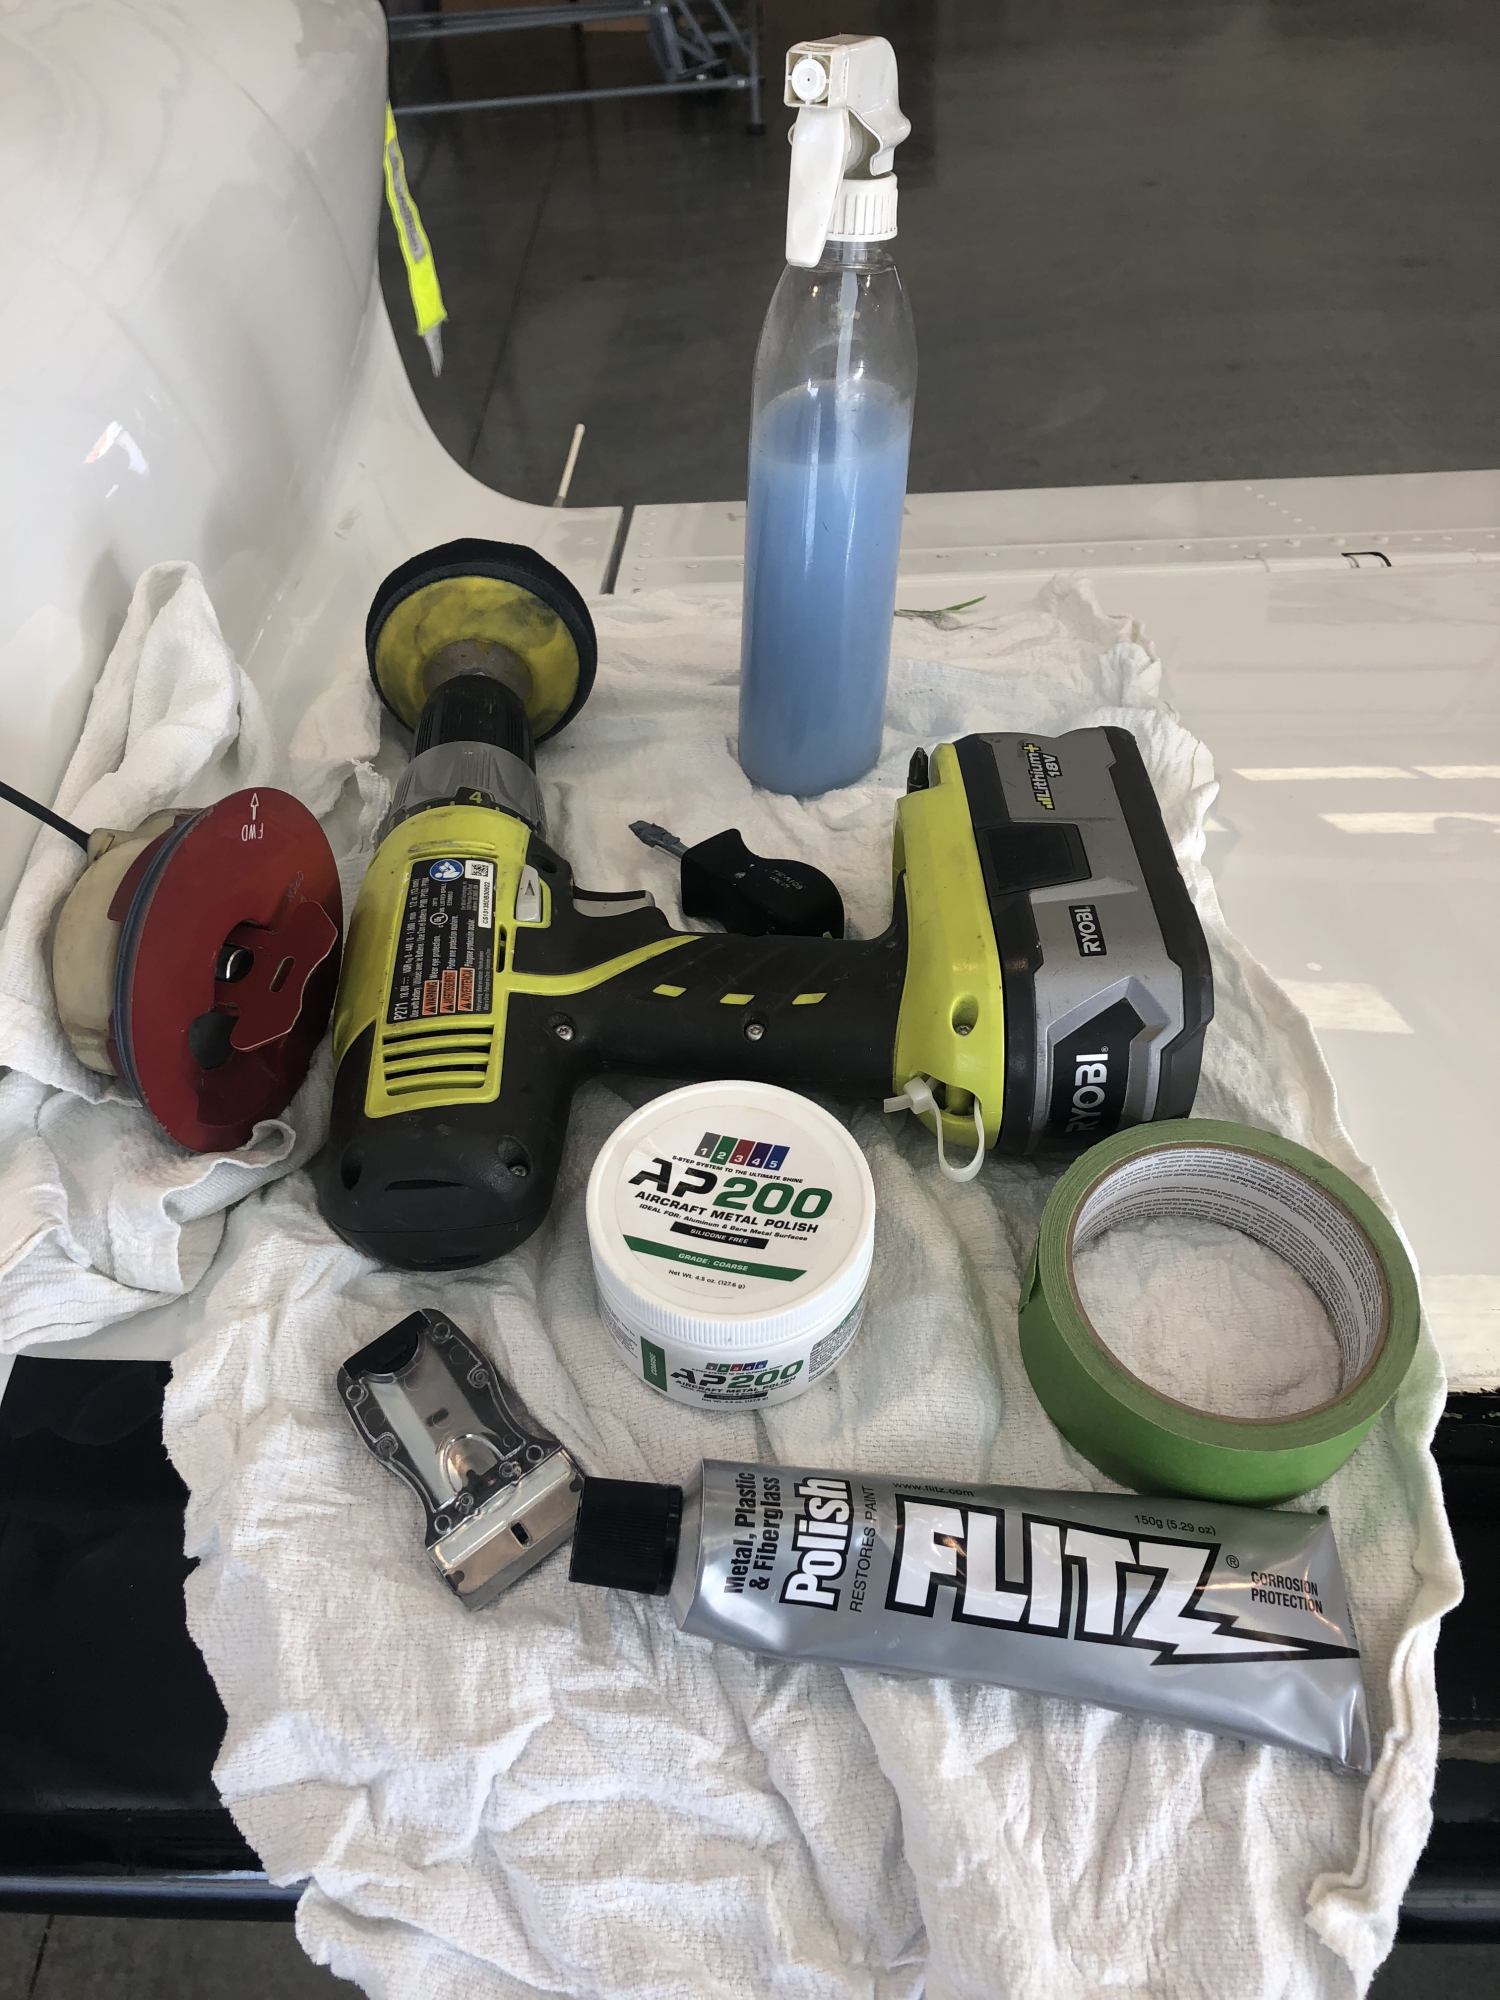
Getting Ready – Supplies and Tools
I used Rolite AP200 to start, if I could have found the AP100 that would have been a better initial choice. It is basically a messy job. The resulting black residue gets everywhere when you use a drill, including on the floor and your clothes. I should have used a friend’s hanger! As you polish occasionally clean the consumed residue away to give you a better idea of your progress. If you have a slightly damp polishing pad it seems to work best for me. If it is too wet, the residue flies everywhere.
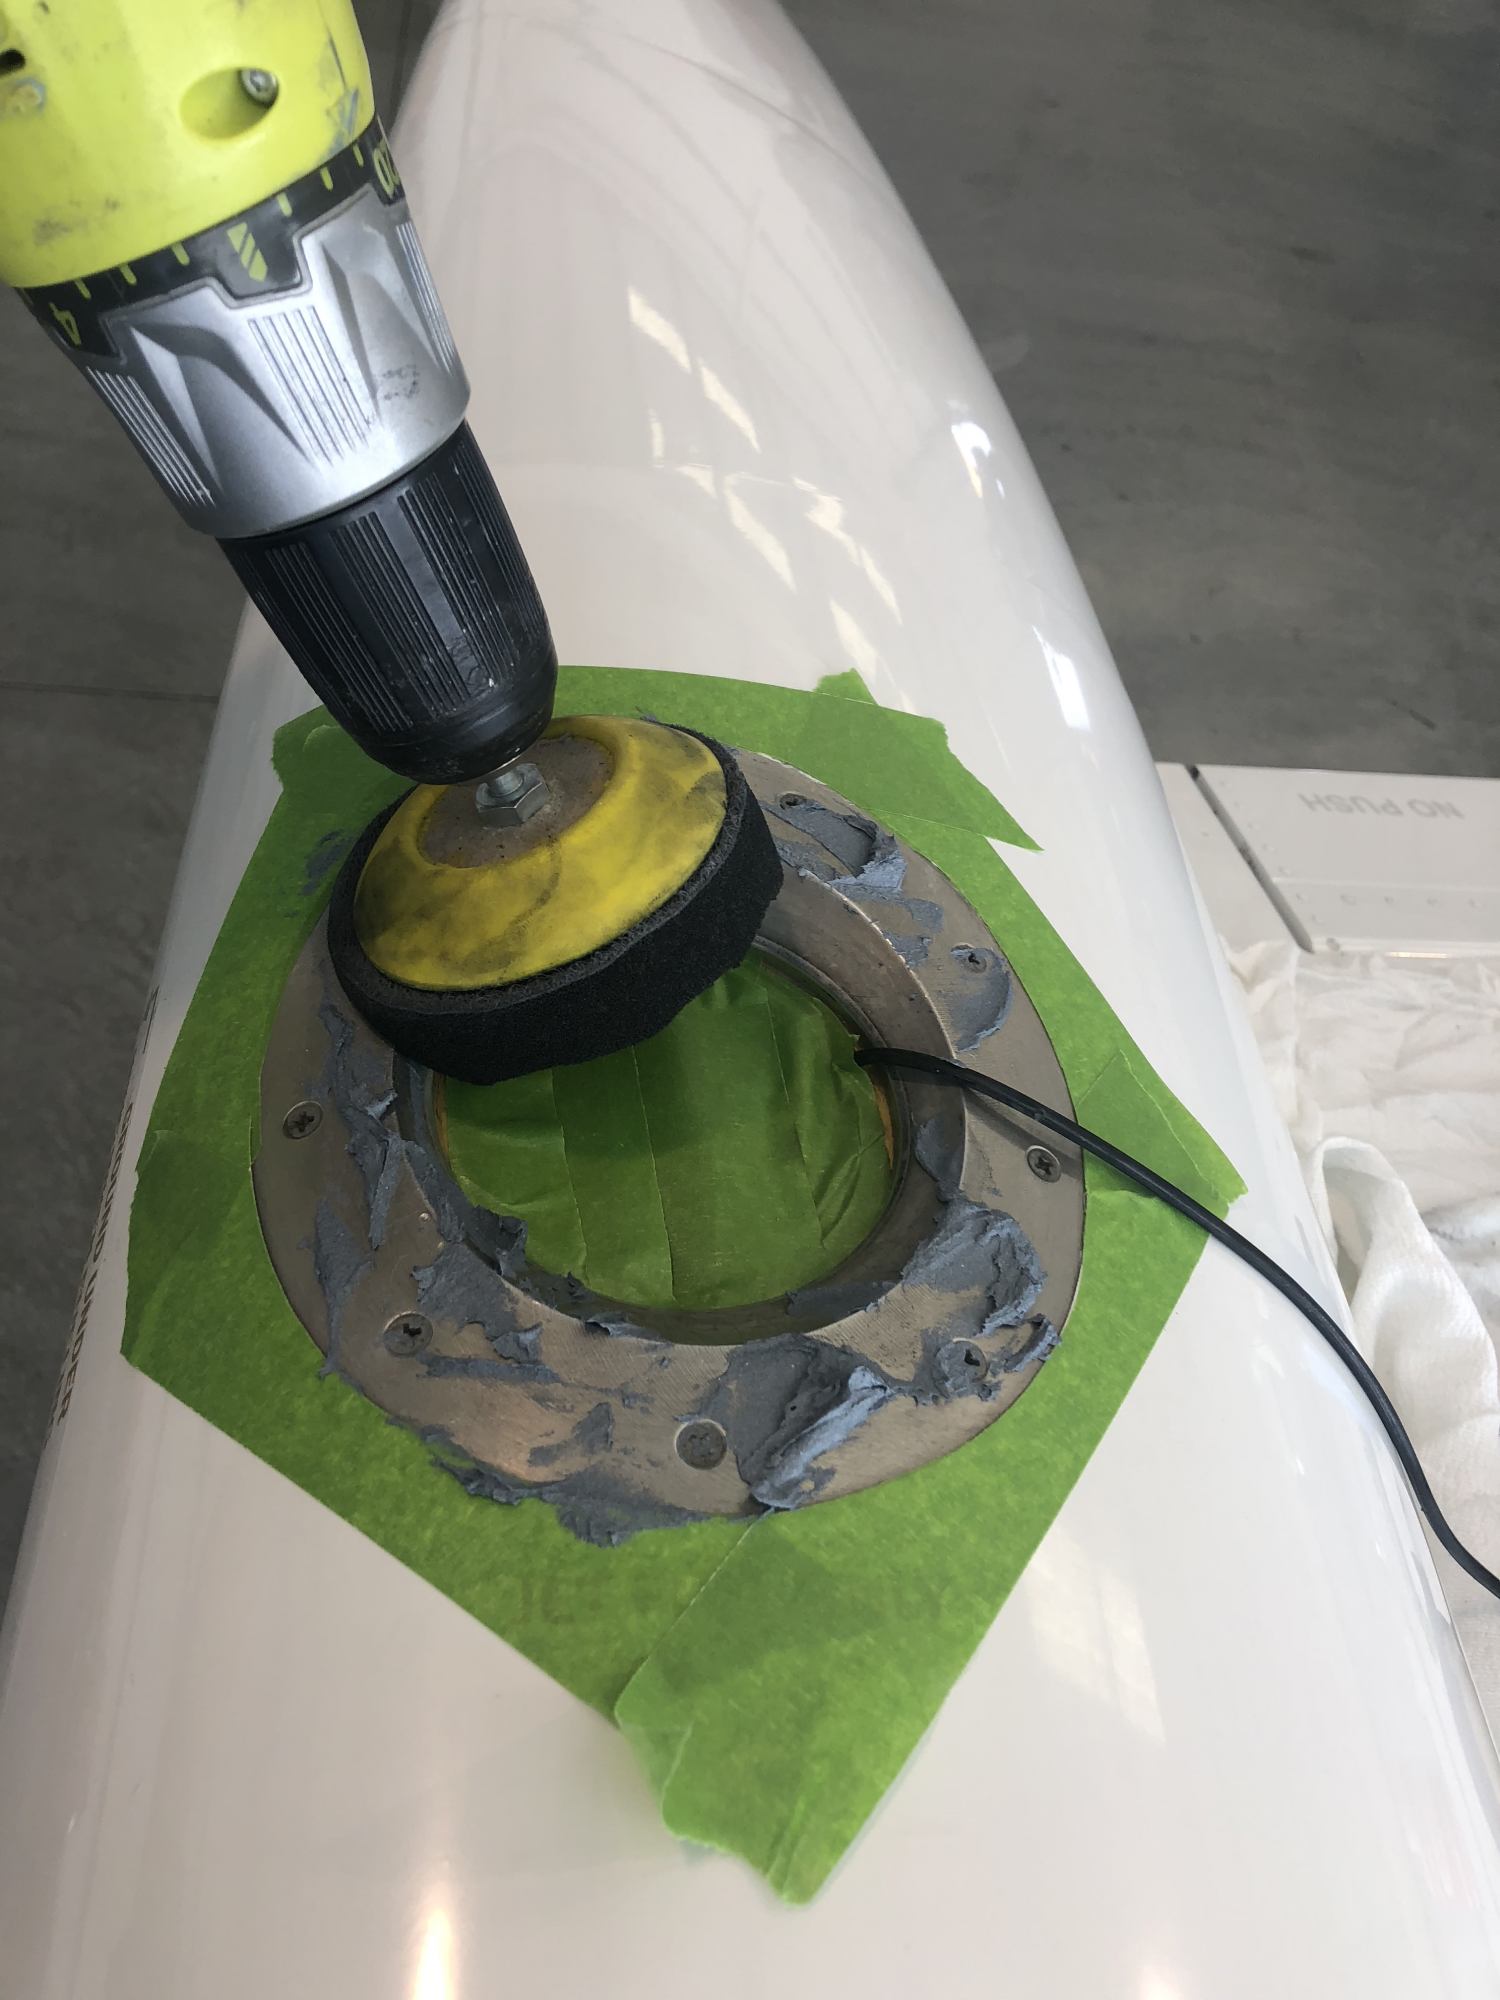
Polishing process – in action
It takes patience and constantly check the status of your work. My filler necks showed machine marks from manufacturing and I didn’t try to obtain a perfectly smooth surface. It wasn’t necessary to obtain a nice result. As the aluminum was reaching my preferred look, I switched to finer grit polishes, including APS 500. Rolite also offers Supra 90, a very fine compound which works well. I used it and Flitz that I had handy as the final step.
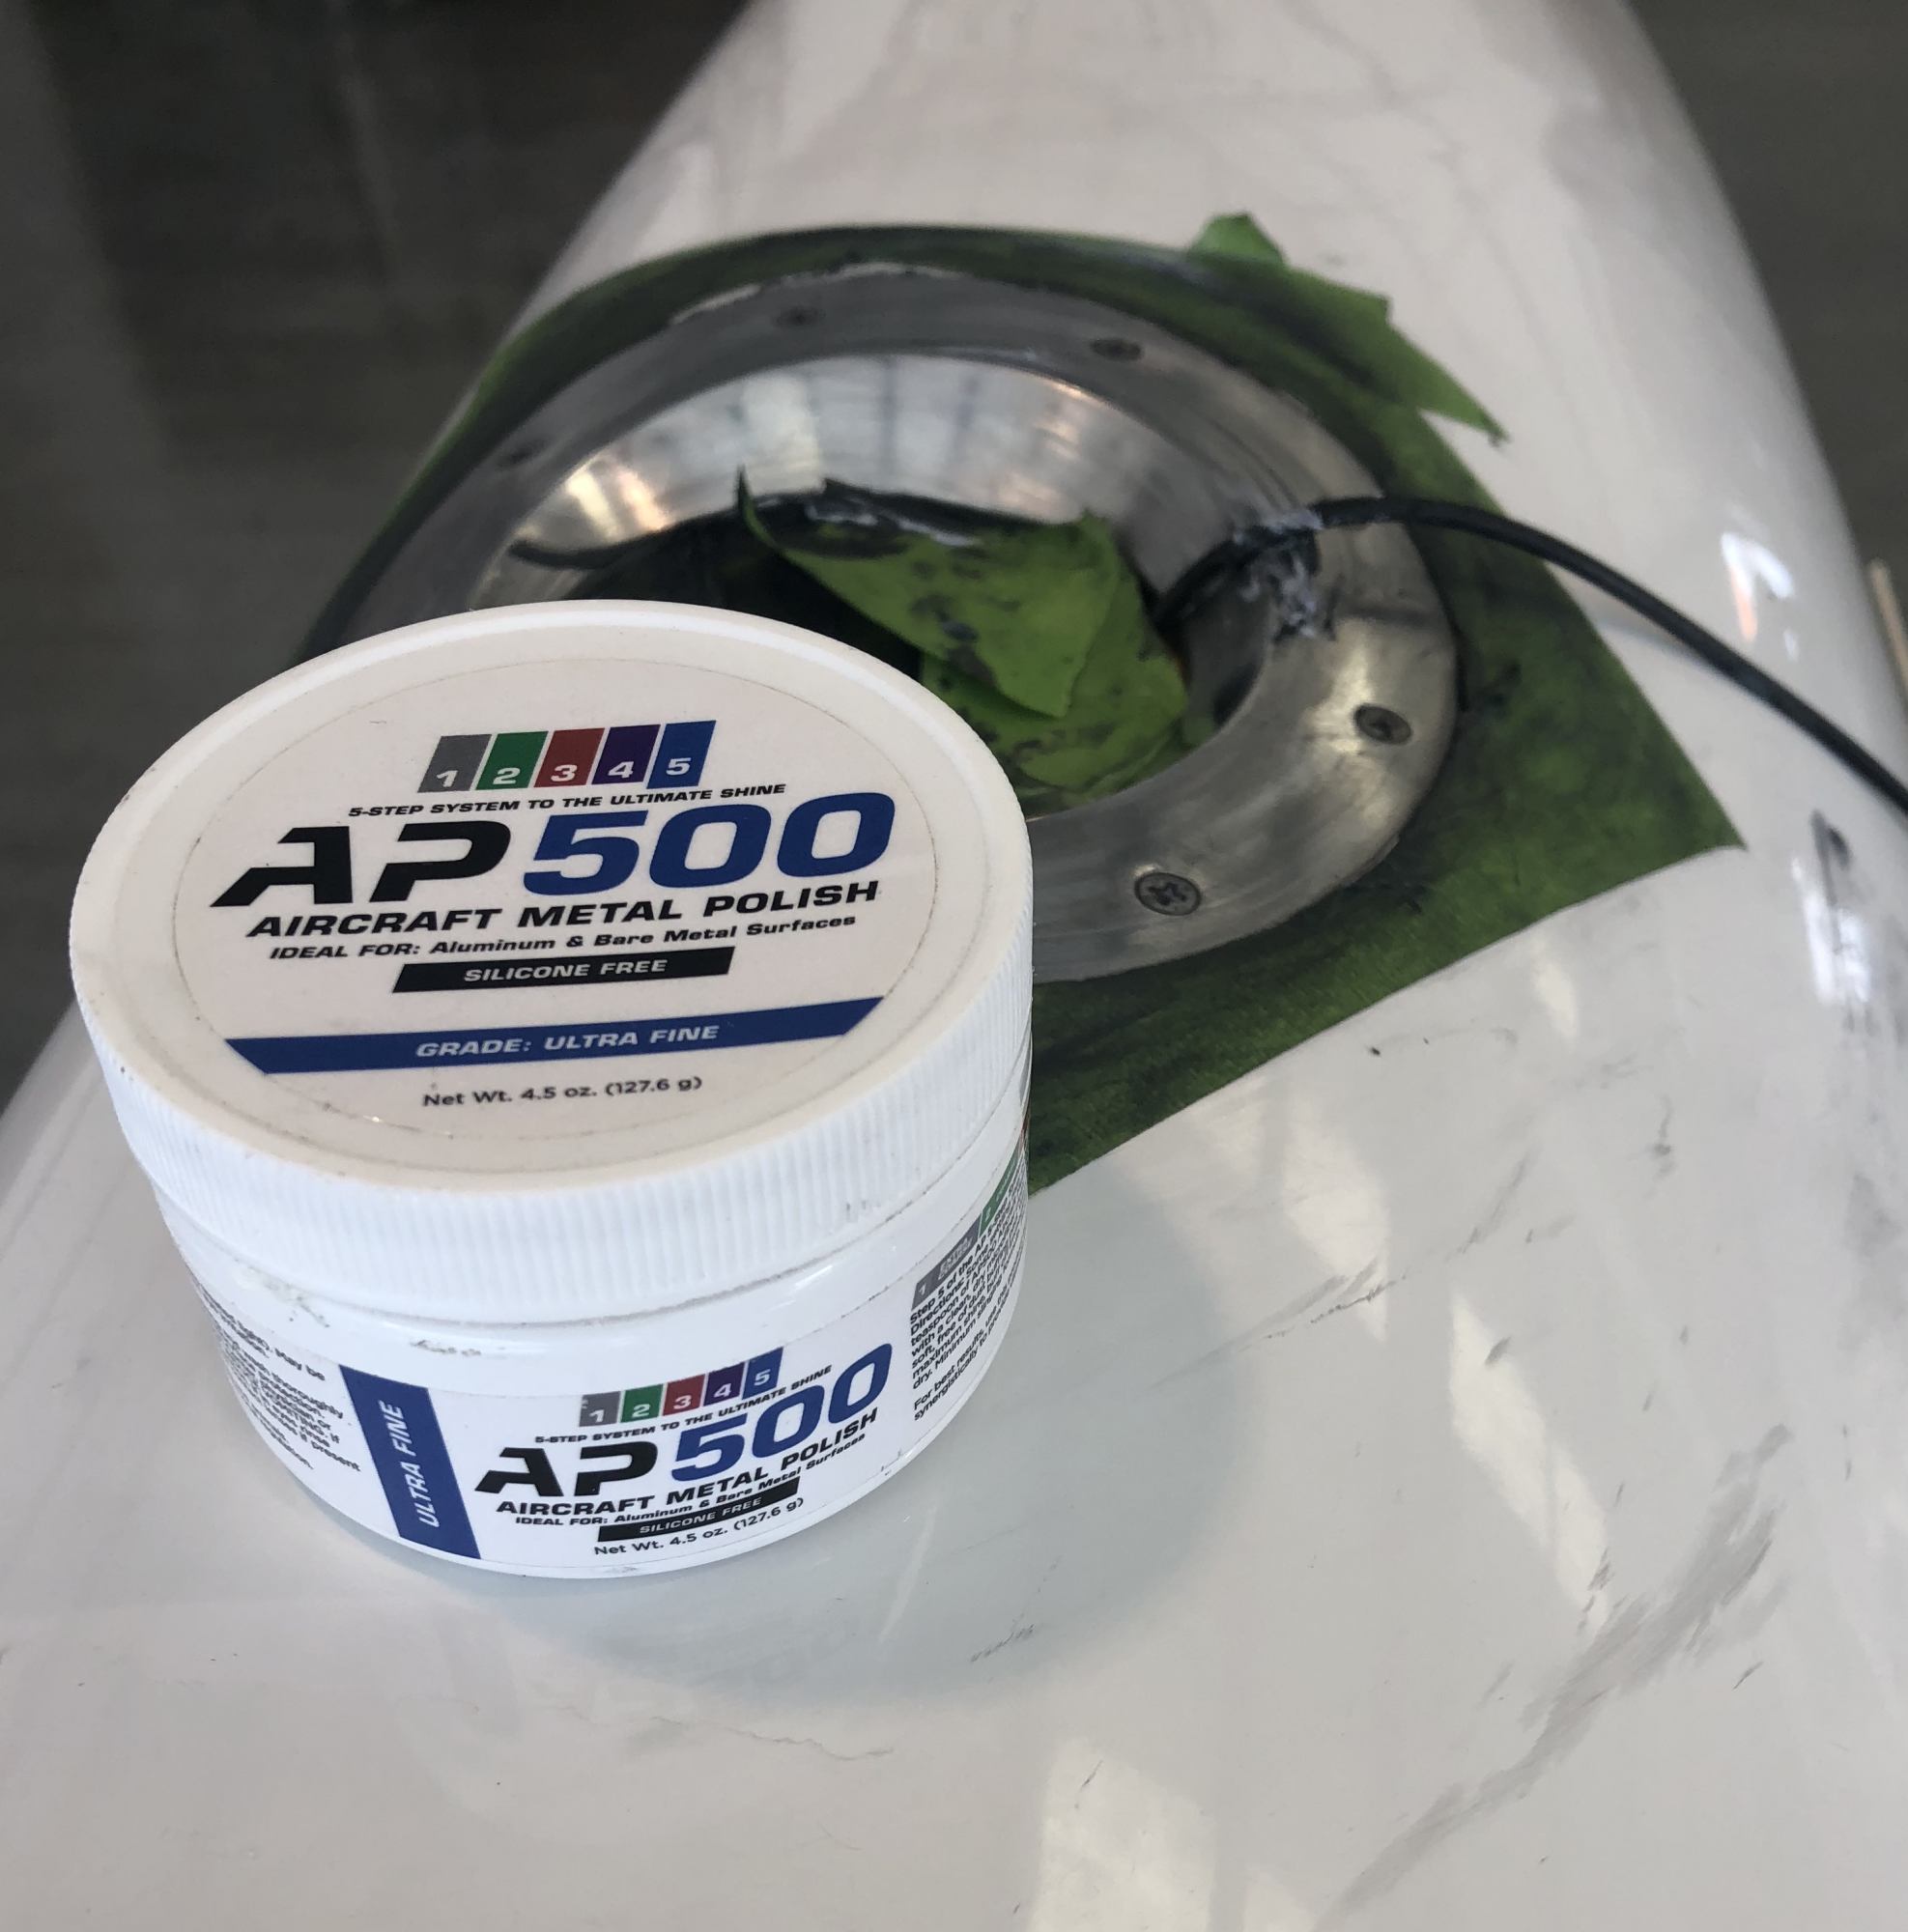
Rolite AP500 – ultra fine polish
After about 45 minutes I was close to being finished. The black residue, containing aluminum oxide, was all over my work area. No matter how careful I was, some also stained the surrounding paint as the masking tape was removed. From my previous experience polishing, I knew it wasn’t an issue. There are various methods to remove the residue, including any on the paint. I’ve found the easiest is to use a paint cleaner or polish. I had Nulite NuPro handy. It is a great paint cleaner and easily removes turbine soot, dirt, and you name it. It quickly cleaned the project surface and paint. I followed it with the use of an aircraft polish. I used what I had handy.
The Results
You’ve probably see the beautiful polished bare aluminum airplanes and props and were amazed at how nice they look. What you may not realize is what it takes to keep them that way. When you polish aluminum, it looks beautiful however you are removing a protective layer of anodizing. Because if this it requires more frequent maintenance. I polish brightwork about once a month and The specialized metal polishes appear to work the best, however in a pinch any quality plush or sealant will work. If you don’t, you risk corrosion of the surface.
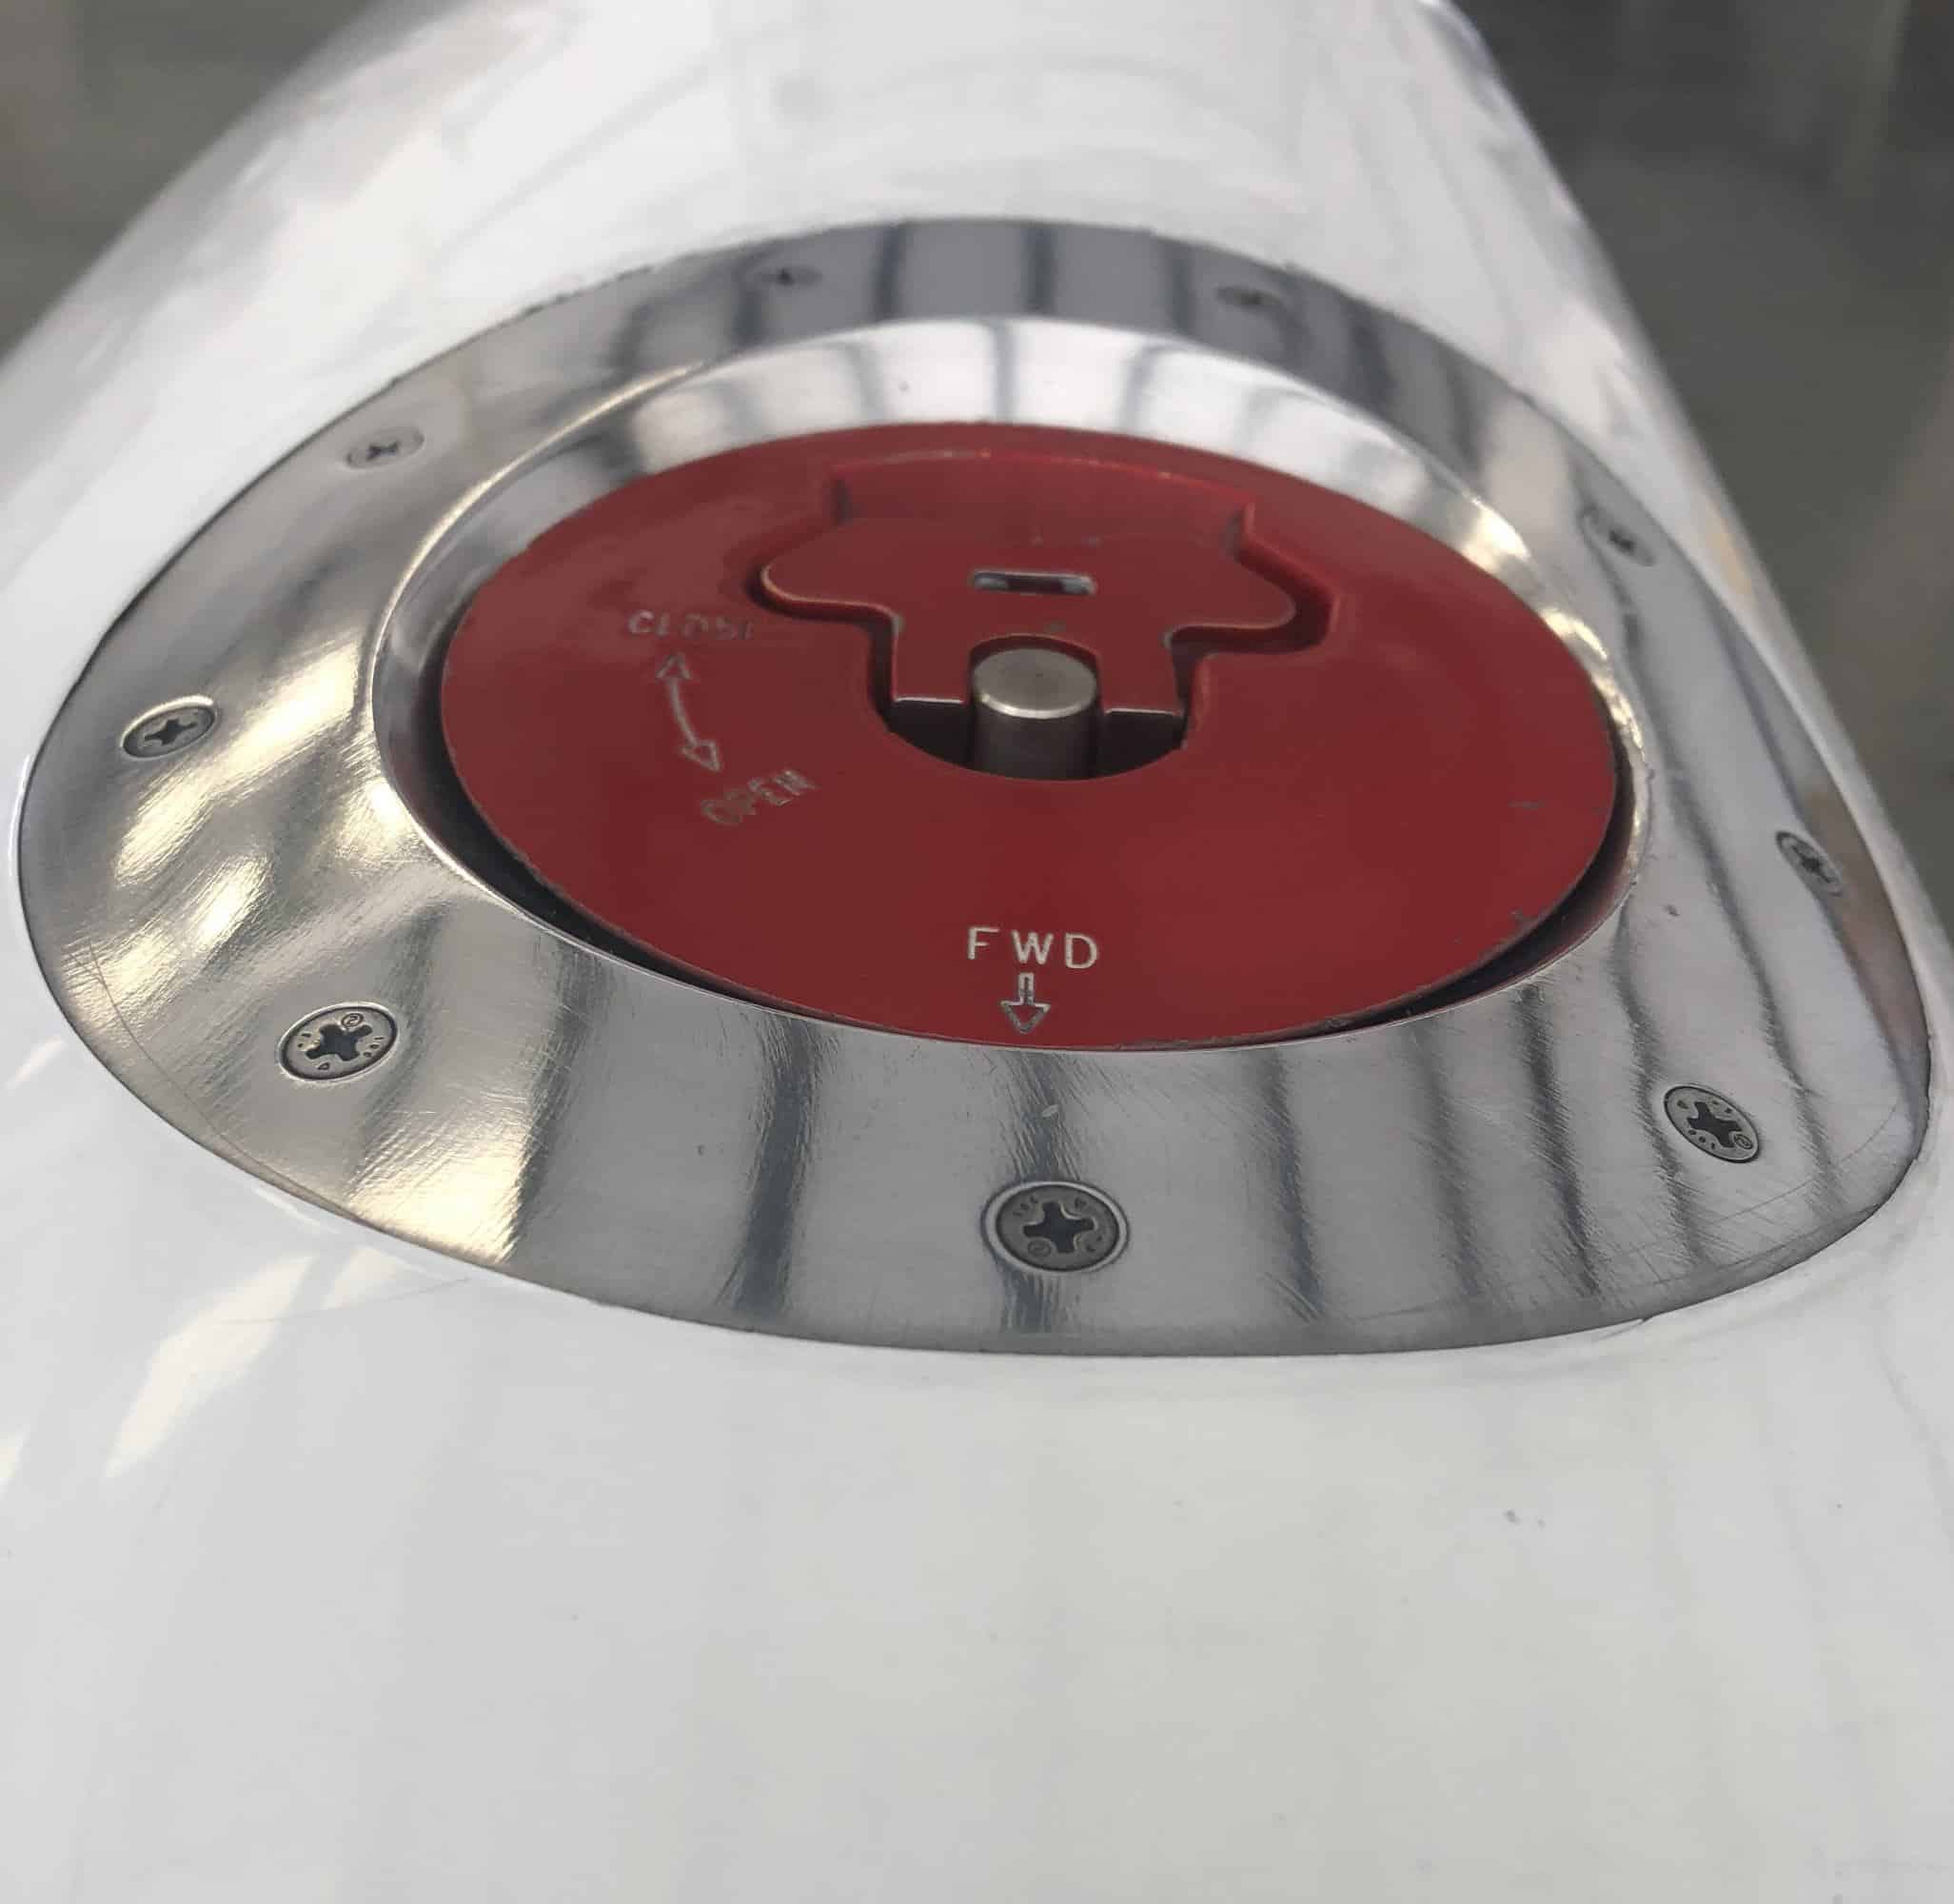
Fuel Filler After Polishing – Profile
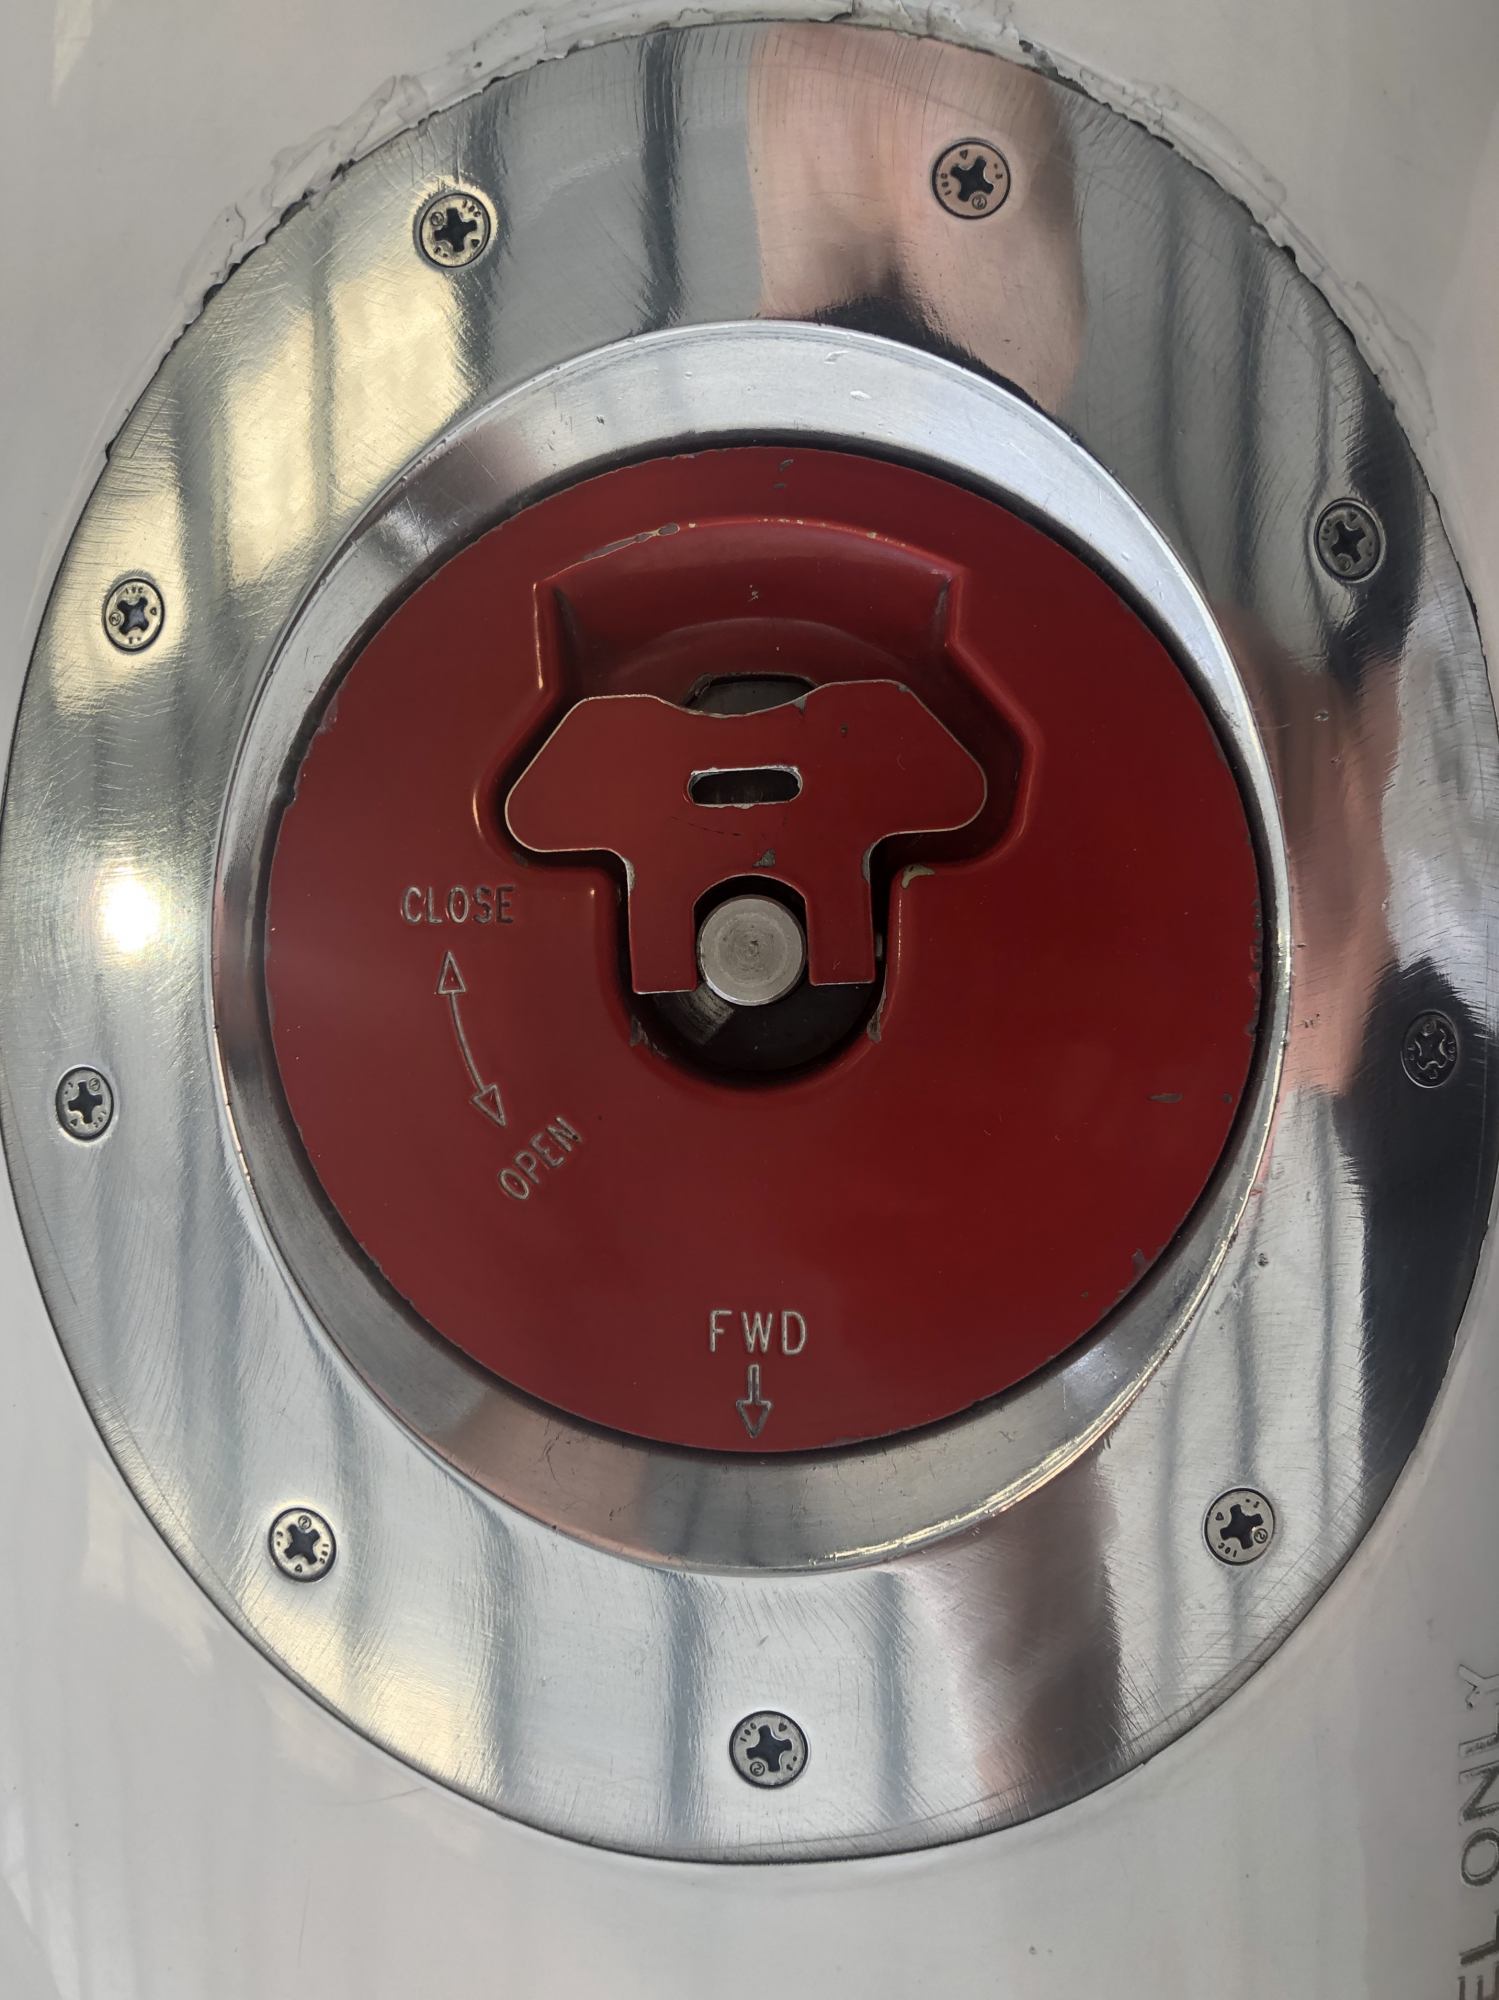
Fuel filler after polishing
The result was great, maybe not as nice as what can be obtained by professionals, however at least my fuel fillers won’t bug me as I walk by them during preflight. It also gave me an excuse to flight test my work!