For those of you who have visited Sedona AZ, you’ve seen the spectacular scenery and riding. For those who have not, it should be on your list.
I flew our Cirrus SR22 to Sedona AZ with a friend, and client, Sarah who is taking her Private Pilot check ride this week. It has been great experience teaching her and we were off to try some mountain biking in Sedona. It takes some time to properly load mountain bikes in our SR22, especially since my new one is a Haibike with electric assist we purchased from our favorite local bike shop – Bicycle Warehouse! If you don’t want the hassle of carrying the bikes – there are easy alternatives for renting quality bikes and equipment in Sedona.
On the flight to Sedona, I elected to fly relatively low under VFR flight rules to see the terrain. Flying approximately 3-5,000 AGL (above ground level) at 175 KTAS (200 MPH) it was spectacular, no matter that I’ve flown over that area at least 150 times. The route is relatively simple, just watching for Restricted Areas, TFRs (Temporary Flight Restrictions) and using the wonderful Flight Following services of ATC.
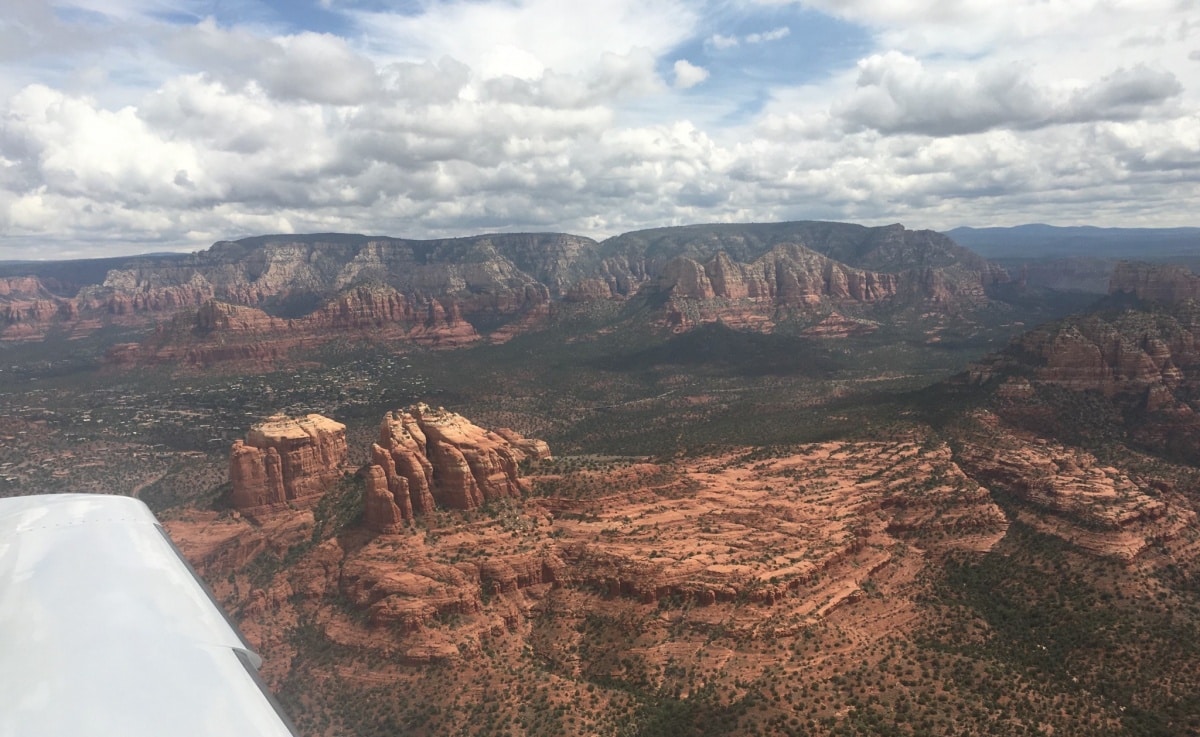
After clearing the mountain ridge east of Prescott AZ (KPRC on Airnav), you drop down into the valley that holds Sedona. The initial view is breathtaking.
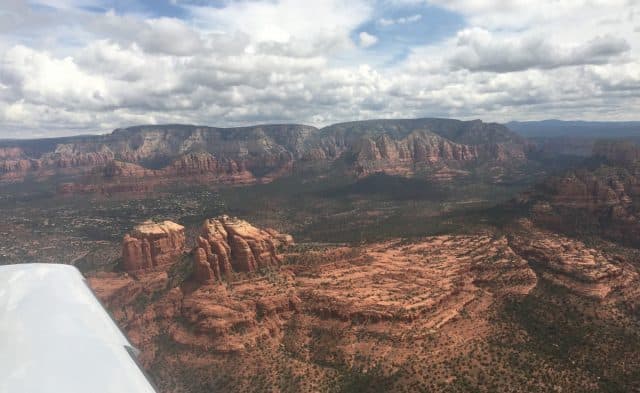
Aerial view approaching Sedona KSEZ from the west
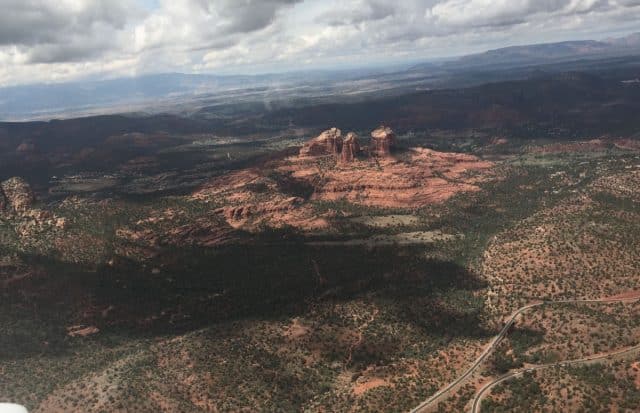
Sedona Towers Aerial View
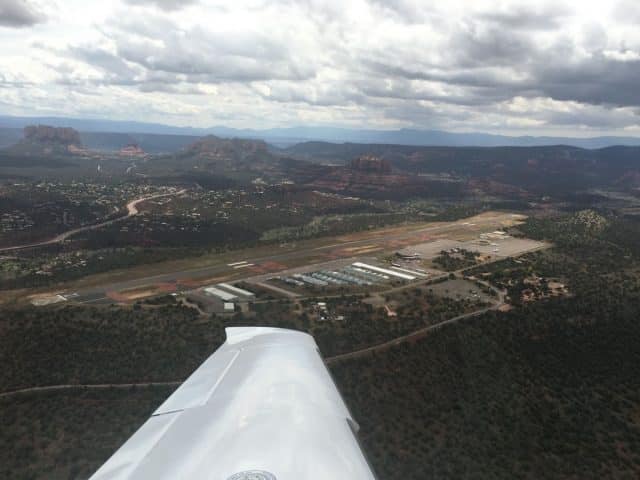
Approach and Landing Sedona
The airport – KSEZ – is on a mesa, approximately 500 feet above the town. As with any airport on a mesa, you have to be cognizant of up and down drafts on approach – and departure. The runway (03/21) slopes towards 03, in calm or light tail winds most pilots will land on 03 and depart on 21. The tailwinds can be deceiving, so it is best to evaluate our own aircraft’s performance and your comfort level before deciding to land if you have a tailwind. We had a slight tailwind and selected 03, however our landing roll was greater due to the higher ground speed. With the SR22 it wasn’t an issue, but nonetheless evaluate every landing! Sedona also has a GPS approach, if needed.
The ramp area is very convenient to the FBO – Red Rock Aviation. The FBO staff were very helpful, and filled my airplane quickly so we could leave later in the day. DJ, as we can our bird, just had a new engine installed and is sporting the white base paint before graphics are added in the near future.
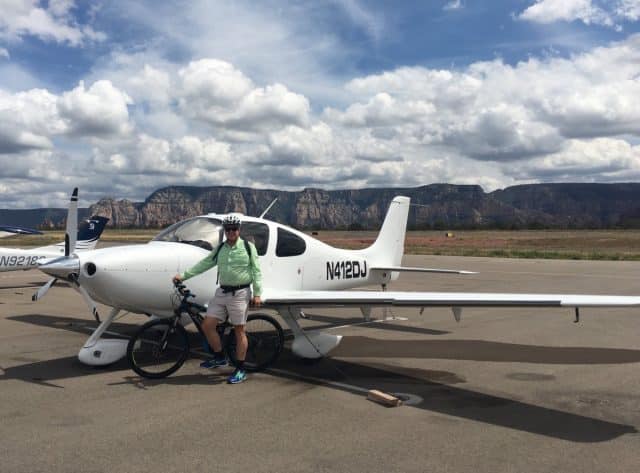
At Sedona in our aerial magic carpet – DJ!
There is a cafe at the airport, which came highly recommended, however we wanted to ride! As you leave the airport you are exposed to an amazing view from the top of the mesa. There are also trails around the mesa if you are inclined to explore. The ride down the mesa is 2 miles of nice road, and the thought that you have to come back up after riding! It is definitely worth the stop at the top to take a glance at the area.
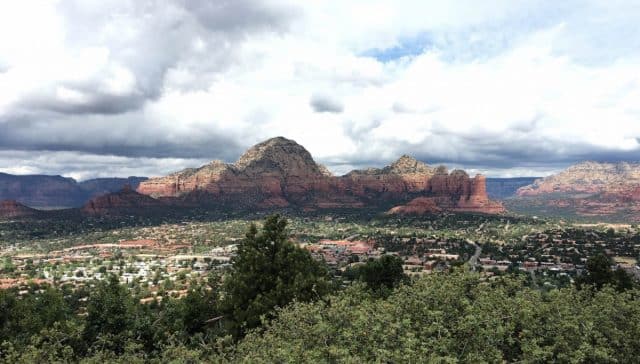
Sedona View from Airport Mesa – amazing!
At the bottom of the mesa, you meet up with the main road. If you are hungry, or need supplies, there are a number of good restaurants and bike shops within a mile of this intersection. You can rent bikes, jeeps, or do a tour with a guide.
Biking, Hiking
One of the best maps for recreation in the Sedona area is the “Sedona Singletrack” by Beartooth Publishing which is available in many local bike shops such as Over The Edge . There is also a free option from the U.S. Forest Service – Red Rock Country Recreation Map that is very useful, but not quite as detailed. Many of the trails are joint use: jeeps, bike, hikers – however when it gets really narrow and more technical you are often on your own biking or hiking.
We started at Apache Junction, which is just north of Airport Road on State Road 89A. There is a small parking lot on the left as you leave town, as well as more parking farther along 89A. From Apache Jct, the trails start in and take the trail to the right. We mistakenly went straight and ended up in a wash with a large number of boulders to navigate. After sometime, we realized our mistake and backtracked.

Biking the wrong trail! Great fun but slow going
Once we found the right trail – Crustys, it only got better. The trails we rode – Crusty, Coyote, Power Line, Plunge, Jordan, Soldier Pass, Adobe Jack, and others range from intermediate to expert along Soldier Pass north of Devil’s Kitchen.

Subset of Sedona area trails. This centers on Adobe Junction
As we biked up Adobe Jack then turned the corner along Coyote and climbed we were met by one of many spectacular views. It was hard not to stop every few feet to enjoy the view!
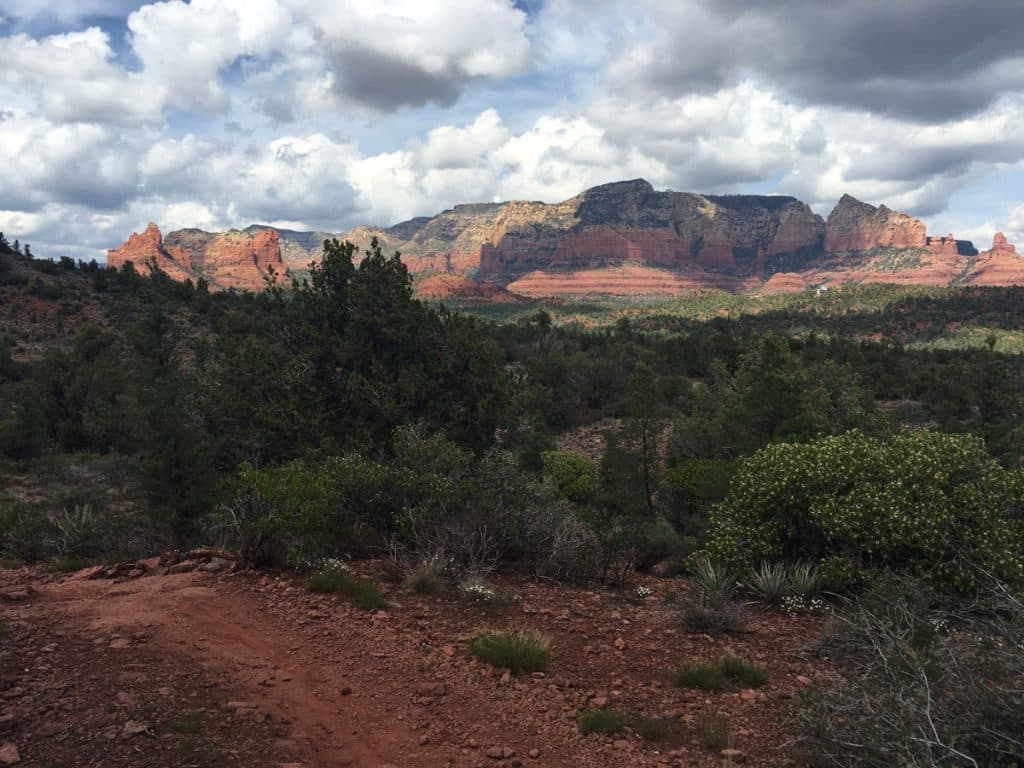
View from Coyote Trail Sedona
As we progressed, I took a panorama to try and capture just a bit of the spirit of the area.

Panorama Coyote Trail
Riding along the trail toward Grand Central varied from fast weaving tracks to some fairly steep climbs and descents – sometimes requiring dismounting to get over rocks. Once you reach the intersection of Jordan and Soldier Pass, you come up to Devil’s Kitchen – a huge sinkhole that seems to go down forever! Biking left along Soldier Pass Trail is a blast – sometimes very technical, slick rock, tree roots, etc. Something for everyone! Up on one of the largest rock ledges you will find the Seven Sacred Pools. While not exactly large pools, they are nonetheless beautiful – especially with the towering mountain in the background.

Sedona Seven Sacred Pools
Continuing up Soldier Pass the trails gets a bit tricky, more steep switchbacks, rock climbs, etc. but fun and you are rewarded by more amazing views. I used my power assist very sparingly, only using it to ride of the higher roots and rocks – in case I needed it later (a premonition I should have thought about).
From Cruising to Bruising
I was feeling on top of the world; beautiful weather, amazing views, biking a challenging route (for me), going fast. As I navigated a number of steep descents, slick rock traverses, narrow trails with drop-offs, I came down a quick short descent and hid some slick mud. Once I hit it – I knew I was in trouble!
As I slammed into the beautiful, however unforgiving, red rock I heard my ribs break. My first thought was I had a long ways to go to get out of these trails then the bike ride up the mesa to the airport – another 7 miles. My second thought was of pretty intense pain.
Realizing that my shock reflex would protect me from noticing much of the pain for a while, allowing me to get back to the plane. I walked and rode my bike along the trails, this time feeling the underlying surface with much more clarity — i.e. pain! Sarah and I opted to locate a paved road as soon as possible. It was much better, then Sarah found an easement that would shorten our route. Now it was just the 4 mile climb along 89A then up the mesa. I was grateful that I had the power assist for this segment. I had only used 5% of my battery power, so with one hand on my ribcage and the other on the handle, we mad it to the top. Sarah had to power up herself, which is tough.
Flying Home
After planning the IFR (Instrument Flight Regulations) trip back to KMYF, I convinced myself that I was just bruised and the cracking I heard was probably my bike hitting the rock. I could breathe fully, but with some discomfort, no external bruising or ribs poking out. I could walk, didn’t have any concussion since I had not hit my head, and knew that they don’t do much for broken ribs except for pain management. Sarah loaded our bikes and packed the plane. We filled a Camelback with ice to hold against my side and winged our way home! The two hour flight went very fast – beautiful sights, some nice IMC (Instrument Meteorological Conditions – clouds) made it interesting and fun!
Of course, a later visit to the Kaiser Emergency Room confirmed two broken ribs later that night. The Kaiser medical staff were not only friendly, but efficient and within 40 minutes of entering had confirmed the broken bones. The nursing staff, Ashley and Diane were attentive and helped at every turn to process me through fast. The physicians were able to see me quickly, and Doctor Garcia and I traded bike riding accidents! It takes me longer sometimes to pre-flight my aircraft!
Great article! Do you have any photos of the bikes loaded into the SR22? I would love to see how well that works and I cannot find any photos of that anywhere on the internet!
Thanks.